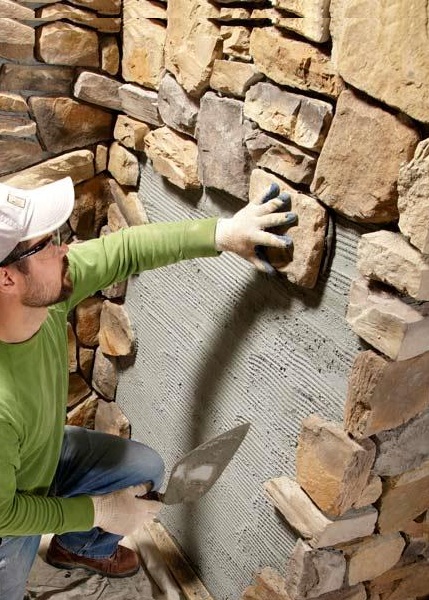
INSTALLATION METHOD
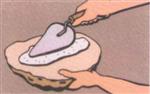
Ensure wall surface is free from dirt, paint or grease. If necessary, roughen wall and apply mortar on the wall for better gripping. Apply tile adhesive on the entire back side of the stone. Avoid cement stain on stone surface by using tools, instead of bare hand.
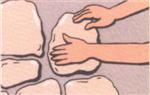
Always start with corner component before laying the flat component. Start for one end and work towards the other. Press each stone firmly into the mortar bed in a sliding motion. Ensure that individual stones are placed as closely as possible, creating uniform joints between them.

For random series with gaps, fill the joints with color grout using a grout bag. Better results can be archived by selecting color grouts which is similar in color with the stone. It is recommended to use a trowel to archive a smooth and even finishing of color grout inside the joints.
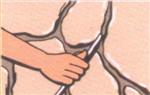
Before the grout harden, use a stiff brush or wooden racking tool to remove excess grout or mortar from the surface of the stone. You may also use a wet brush to brush away small cement stains that got left behind.
Installation of CraftBricks